
Published: 10 September 2026 | Category: India Post Latest News, PLI/RPLI, IMS
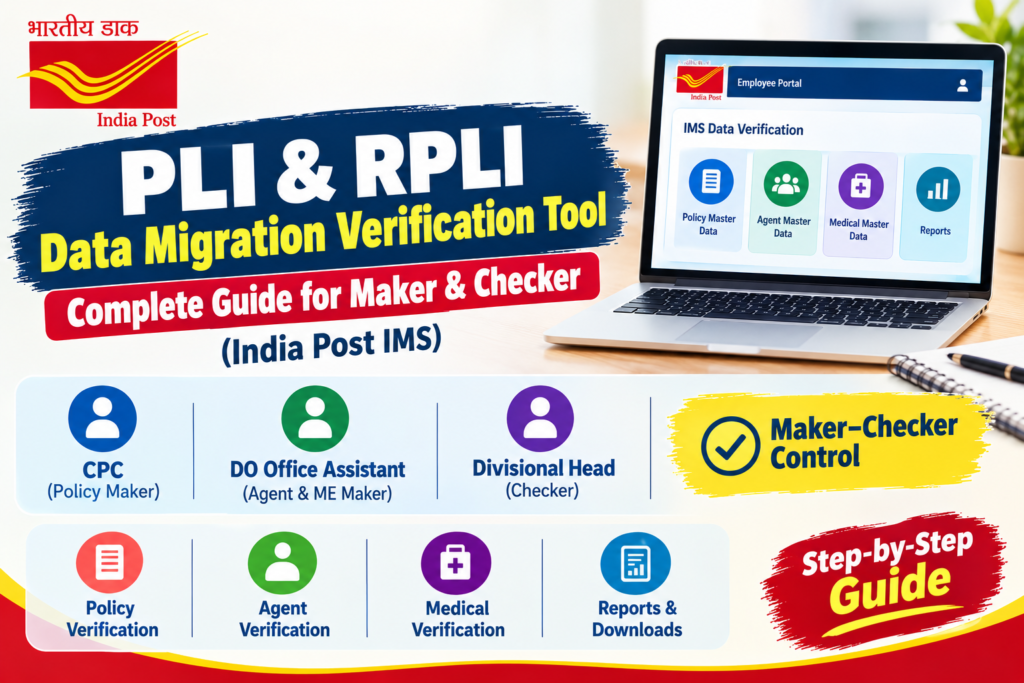
India Post has rolled out the PLI/RPLI Data Migration Verification Tool on the Employee Portal. Every Divisional Office and CPC is now expected to verify migrated policy, agent and medical examiner records before the data goes live in the new IMS (Insurance Management Solutions) system.
If you are a CPC official, a DO Office Assistant, or a Divisional Head, this guide explains the entire process in simple steps — who does what, which button to click, and where people usually get stuck.
Quick Summary
- Tool Name: PLI & RPLI Data Migration Verification Tool
- Guide Issued By: CEPT
- Version: 1.0 (Initial Release)
- Document Index: IMSOG001 v1.0 dated 13-08-2026
- Portal URL: https://app.indiapost.gov.in/employeeportal
- Access Point: IMS Data Verification card on the portal home page
- Control Model: Maker–Checker (segregation of duties)
- Modules: Policy Master, Agent Master, Medical Master, Reports
Abbreviations You Must Know
| Abbreviation | Full Form |
|---|---|
| PLI | Postal Life Insurance |
| RPLI | Rural Postal Life Insurance |
| IMS | Insurance Management Solutions |
| CPC | Central Processing Centre |
| DO | Divisional Office |
| ME | Medical Examiner |
Who Does What? (Roles Table)
This is the first thing to get right. Every module has a different Maker.
| Module | Maker | Checker |
|---|---|---|
| Policy Master | CPC | Divisional Head |
| Agent Master | DO Office Assistant | Divisional Head |
| Medical Examiner (ME) | DO Office Assistant | Divisional Head |
In simple words:
- Policy data is verified by the CPC first.
- Agent and Medical Examiner data is verified by the DO Office Assistant first.
- All three are finally approved by the Divisional Head.
The Complete Workflow (Flow Diagram in Words)
   POLICY MASTER DATA                AGENT & MEDICAL MASTER
   Maker — CPC Level                 Maker — DO Level
   (Performs Policy                  (Performs Agent and
    Verification)                     Medical Verification)
            |                                 |
            +------------------+--------------+
                               |
                               v
                    Checker — DO Level
              (Verifies data entered at all levels
                    and approves the record)
Key principle: Each stage is performed by a different role. The same person cannot make and approve the same record. This is the maker–checker control.
Step 1: How to Login
- Open https://app.indiapost.gov.in/employeeportal in a supported browser.
- Enter your Employee ID (User ID).
- Enter your Password.
- Click Login / Sign In.
- After successful login, the Dashboard appears.
- Click on the “IMS Data Verification” card.
Note: Only authorised users can access the application, and what you see depends on the role assigned to you. If a card is missing from your screen, your role has not been mapped — contact your Divisional Office.
Step 2: Dashboard Navigation
After clicking IMS Data Verification, you will see the Data Migration page. The cards visible depend on your role:
Maker sees:
- Policy Master Data (CPC Maker)
- Agent Master Data + Medical Master Data (DO Maker)
Checker (Divisional Head) sees all five:
- Policy Master Data
- Agent Master Data
- Medical Master Data
- Policy Consolidation Report
- Download IMS Reports
Main navigation options inside the tool: Policy Master Data, Agent/ME Master Verification, Reports, and Approval Queue.
Step 3: Policy Master Data Verification (CPC – Maker)
Objective: Review migrated policy records and record verification remarks.
The Policy Verification Page
Once you click Policy Master Data, the Policy Verification page opens. At the top you will see the Policy Status Count:
- Total Policies
- Pending Approval
- Approved Policies
- Pending Policies
How to Search a Policy
You can search using any one of these four:
- Policy Number
- Customer Name
- Mobile Number
- Customer ID
Then set the two dropdowns:
- Verification Status — Pending / Pending Approval / Approved
- Product Type — PLI or RPLI (or All Products)
Click Search. Use Reset to clear everything and start a fresh search.
Extra Tools on the Page
- Second search box (above the data table) — filters only the policies shown on the current page, by Insured Name, Policy Number, Agent Code, etc.
- Export button (top right of table) — saves the available data as a CSV file.
- Rows per Page (bottom left) — choose how many records to show.
- Pagination (bottom right) — move between pages of results.
Verifying a Policy Record
Click on the customer record. The policy opens with seven collapsible sections. Open each one and check it:
- Policy Details
- Address & Contact Details
- Nomination & Appointee Details
- Spouse Details
- Parent Policy Details
- Office & Agent Details
- Financial Details (loan amount, outstanding principal, interest rate, sanction date, loan status, safe custody, etc.)
Marking It Verified
- After reviewing everything, click Mark Verified at the bottom right.
- A pop-up appears asking for Remarks — describe what you reviewed.
- Click Mark Verified again in the pop-up to confirm.
Tip: Do not write one-word remarks like “ok”. The Checker reads these remarks before approving, and vague remarks are the number one reason records get sent back.
Step 4: Policy Master Data Verification (Divisional Checker)
Objective: Review records submitted by the CPC Maker and approve or reject them.
- Login and open the Policy Master Data card from the Data Migration page.
- The Policy Verification Dashboard shows the same status counts — Pending Approval, Approved, Pending.
- Use the same search process described in Step 3 to locate the policy.
- Open the record. The Checker sees the collapsible sections plus the Maker’s Remarks at the bottom.
- Review Policy Details, Address & Contact, Nomination & Family, Office & Agent Details, and the Maker’s Remarks.
- If everything is correct, click Approve at the bottom right.
- A confirmation pop-up appears — enter your Remarks and click Approve.
- A green “Policy Approved” confirmation appears at the top right of the page.
Step 5: Agent Master Verification (Divisional Maker)
Objective: Verify and maintain agent records.
Agent Verification Dashboard
Click Agent Master Data. The dashboard shows agents split by status:
- Total Agents
- Under Verification
- Pending Approval
- Approved
- Rejected
- Reverted
- Pending
Click any status card to see the records under it.
Searching an Agent
- Search by Agent ID or Agent Name.
- Filter by Verification Status — Pending, Under Verification, Pending Approval, Approved, Rejected, Reverted, Finalized.
- Click Search, or Reset to start again.
- The second search box narrows results by the first few letters of Agent ID, Agent Name, Agent Type or any column header.
- Export saves results as CSV. Rows per Page and Pagination work the same as the policy module.
Verifying and Editing an Agent
Open the agent record. There are four sections:
- Agent Details — Agent Code, Agent Type, Employee ID, Office ID, Circle ID, Division ID, Name fields
- Address & Contact Details
- License & Bank Details
- Nomination Details
To edit: click Edit, change the information, then click Save Changes to keep it or Cancel Changes to discard it.
Working with Addresses
- Click Add to create a new address (Address Type, Address Line 1/2, City, State, Country, Pincode), then click Create to save or Cancel to discard.
- When editing an existing address, you get four important options:
- Primary Address — Yes or No
- Same as Permanent — Yes or No
- Effective From
- Effective Till
- Click Save after filling the required fields.
Contacts and Email
- Under Contacts, use Add for a new phone number or Edit to update an existing one.
- Scroll down to Emails and click Edit. A pop-up opens where you update the email address, then click Close to exit.
Submitting
After verifying all four sections, click Submit for Approval to forward the record to the Divisional Head.
Step 6: Medical Master Verification (Divisional Maker)
Click the Medical Master Data card on the Data Migration page. You are taken to the Medical Examiner Verification page.
Important: This page has the exact same layout and functionality as the Agent Verification page — Search, Reset, Export, Pagination and Rows per Page all work identically. If you know the agent module, you already know this one.
The Medical Examiner record has three sections:
- Examiner Details — Examiner Profile Code, Examiner ID, ME Subtype, Name, Gender, Date of Birth, License Number, Record Status
- Address & Contact Details
- Bank Details — Account Number, IFSC, Bank Name, Account Holder Name, Branch, Account Type, Primary and Active flags
Steps:
- Click Edit to modify examiner information.
- Click Save Changes to apply, or Cancel Changes to revert.
- Add or edit addresses the same way as in the agent module (Create / Cancel).
- Click Submit for Approval, enter your Remarks in the pop-up, and click Submit.
Step 7: Agent Verification (Divisional Checker)
Objective: Approve or reject the Maker’s updates.
- Open the Agent Master Data card. The Agent Verification Dashboard appears with all status counts.
- Search and open the relevant agent record.
- Review the four sections: Agent Details, Address & Contact, License & Bank, Nomination.
Two Things Every Checker Must Know
1. The Checker cannot edit staging data. You will see a message on the record saying your role does not permit editing staging data. That is by design — the Checker approves, the Maker edits.
2. The yellow flag shows changes. A yellow flag appears on each dropdown section showing the number of changes made by the Maker. Click on that row and you can see the exact change made along with the original entry as it existed before modification.
This is the most valuable feature in the whole tool. Use it. Do not approve blindly — open every flagged section and compare the new value against the original.
- Read the Maker’s Remarks at the bottom.
- Take action: Approve, Reject, or Revert.
Step 8: Medical Examiner Verification (Divisional Checker)
- Click the Medical Master Data card from the Data Migration page.
- The Medical Examiner Verification page opens, with the same search and filter behaviour as the agent page.
- Open the record and check Examiner Details, Address & Contact Details, and Bank Details.
- Review the DO Maker’s comments.
- Select Approve, Reject, or Revert.
Step 9: Reports and Data Extraction (Divisional Checker Only)
Only the Divisional Checker can generate reports. There are two cards:
Policy Consolidation Report
- Generates consolidated policy statistics by product within your office scope.
- Shows figures split across All Products / PLI / RPLI — record counts, sum assured, premium amount, loan disbursed, loan outstanding.
- Also shows policies by status — active, matured, paid-up, and other status buckets.
- Click Refresh (top right) to update the data.
- Click on any rupee figure to see the exact amount.
Download IMS Reports
- Click the Download IMS Reports card.
- Select Report Type — Policy or Collections.
- Select Verification Status — or leave it as All Statuses.
- Click Download Report.
- The report downloads as an Excel file.
Common Mistakes to Avoid
- Approving without opening the yellow-flagged sections. If you do not compare the change against the original entry, the whole maker–checker control becomes meaningless.
- Writing empty remarks. The remark is a permanent record of what you reviewed.
- Forgetting the Product Type filter. If you leave it on All Products, your PLI and RPLI counts will not tally with your division’s figures.
- Editing address without setting Effective From / Effective Till. Incomplete date ranges cause problems later in IMS.
- Not using Export. Exporting to CSV before you start a big verification batch gives you a working checklist and a record of what the data looked like at the start.
- Expecting to edit as a Checker. If a correction is needed, use Revert and let the Maker fix it.
Frequently Asked Questions
Q1. What is the PLI/RPLI Data Migration Verification Tool? It is an India Post Employee Portal application used to verify migrated policy, agent and medical examiner records before they go live in the IMS system.
Q2. What is the login URL? https://app.indiapost.gov.in/employeeportal — then click the IMS Data Verification card.
Q3. Who is the Maker for policy data? The CPC. For agent and medical examiner data, the Maker is the DO Office Assistant.
Q4. Who is the Checker for all modules? The Divisional Head.
Q5. Can the Checker edit the data? No. The Checker’s role does not permit editing staging data. The Checker can only Approve, Reject or Revert.
Q6. What does the yellow flag mean? It shows the number of changes made by the Maker in that section. Clicking the row shows the change alongside the original entry.
Q7. In what format can data be exported? Search results export to CSV. IMS Reports (Policy and Collections) download as Excel.
Q8. Who can generate the Policy Consolidation Report? Only the Divisional Checker.
Q9. I cannot see a card on my dashboard. Why? The cards displayed depend on the role mapped to your Employee ID. Contact your Divisional Office to get the correct role assigned.
Final Word
Data migration is a one-time job with permanent consequences. Whatever gets approved in this tool becomes the live record in IMS — policy details, nominee details, loan status, agent licence and bank details.
So take the extra two minutes per record. Open every section. Check every yellow flag. Write a real remark.